
It makes sense that an online store that sells clothing, furniture or other highly visual consumer goods needs photos of those items to engage customers. But online stores that market energy-efficiency products also need high-quality images.
Why? Because statistics show that 90 of the information that the brain processes is visual. So no matter how well we describe a product in the online store, if it doesn’t have an accompanying image, it’s unlikely to attract shoppers’ eyeballs.
But because the product photography is just one of many competing factors in your utility company’s online store program budget, you may not be in a position to hire a professional photographer to shoot product images—especially if you’re regularly adding or subtracting products from the store.
Fortunately, there are ways to shoot high-quality photos for an online store for less than $100 when budget is a concern. Here’s a primer.
Don’t overthink the camera. Most current generation smartphones have cameras that are high-quality enough for basic product photography. An inexpensive SLR camera will work as well. It’s also a good idea to invest in a tripod to ensure the camera stays steady.
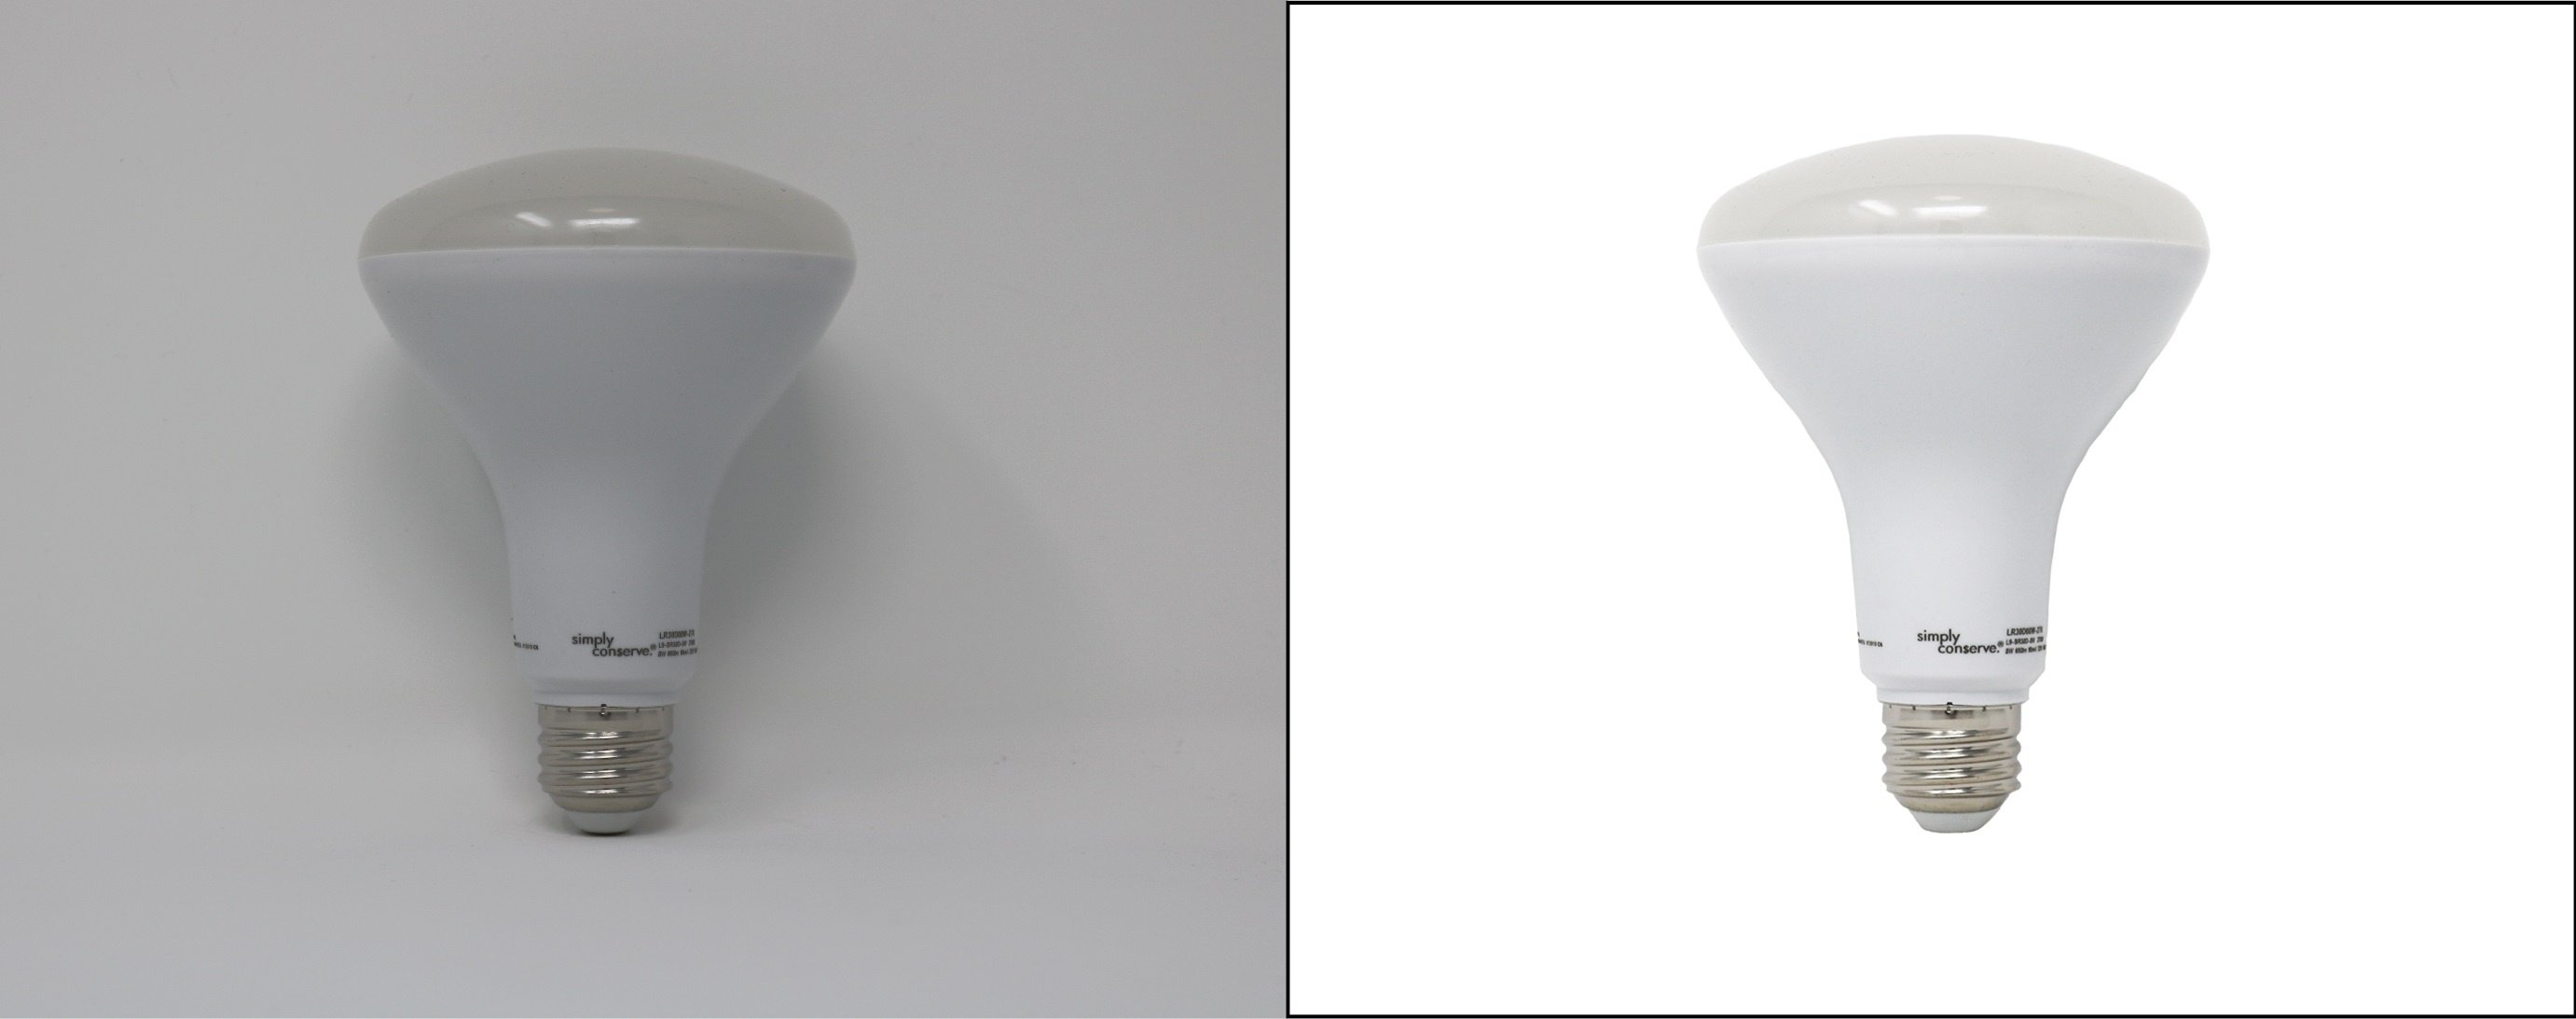
Select the backdrop carefully. We always recommend choosing a white surface to set the product on, along with a white backdrop. Not only does this keep the surroundings from detracting from the product, but according to BigCommerce, sites like Amazon and Google Shopping now require white backgrounds. If you don’t have a white wall and table, you can drape your photography area in white craft paper.
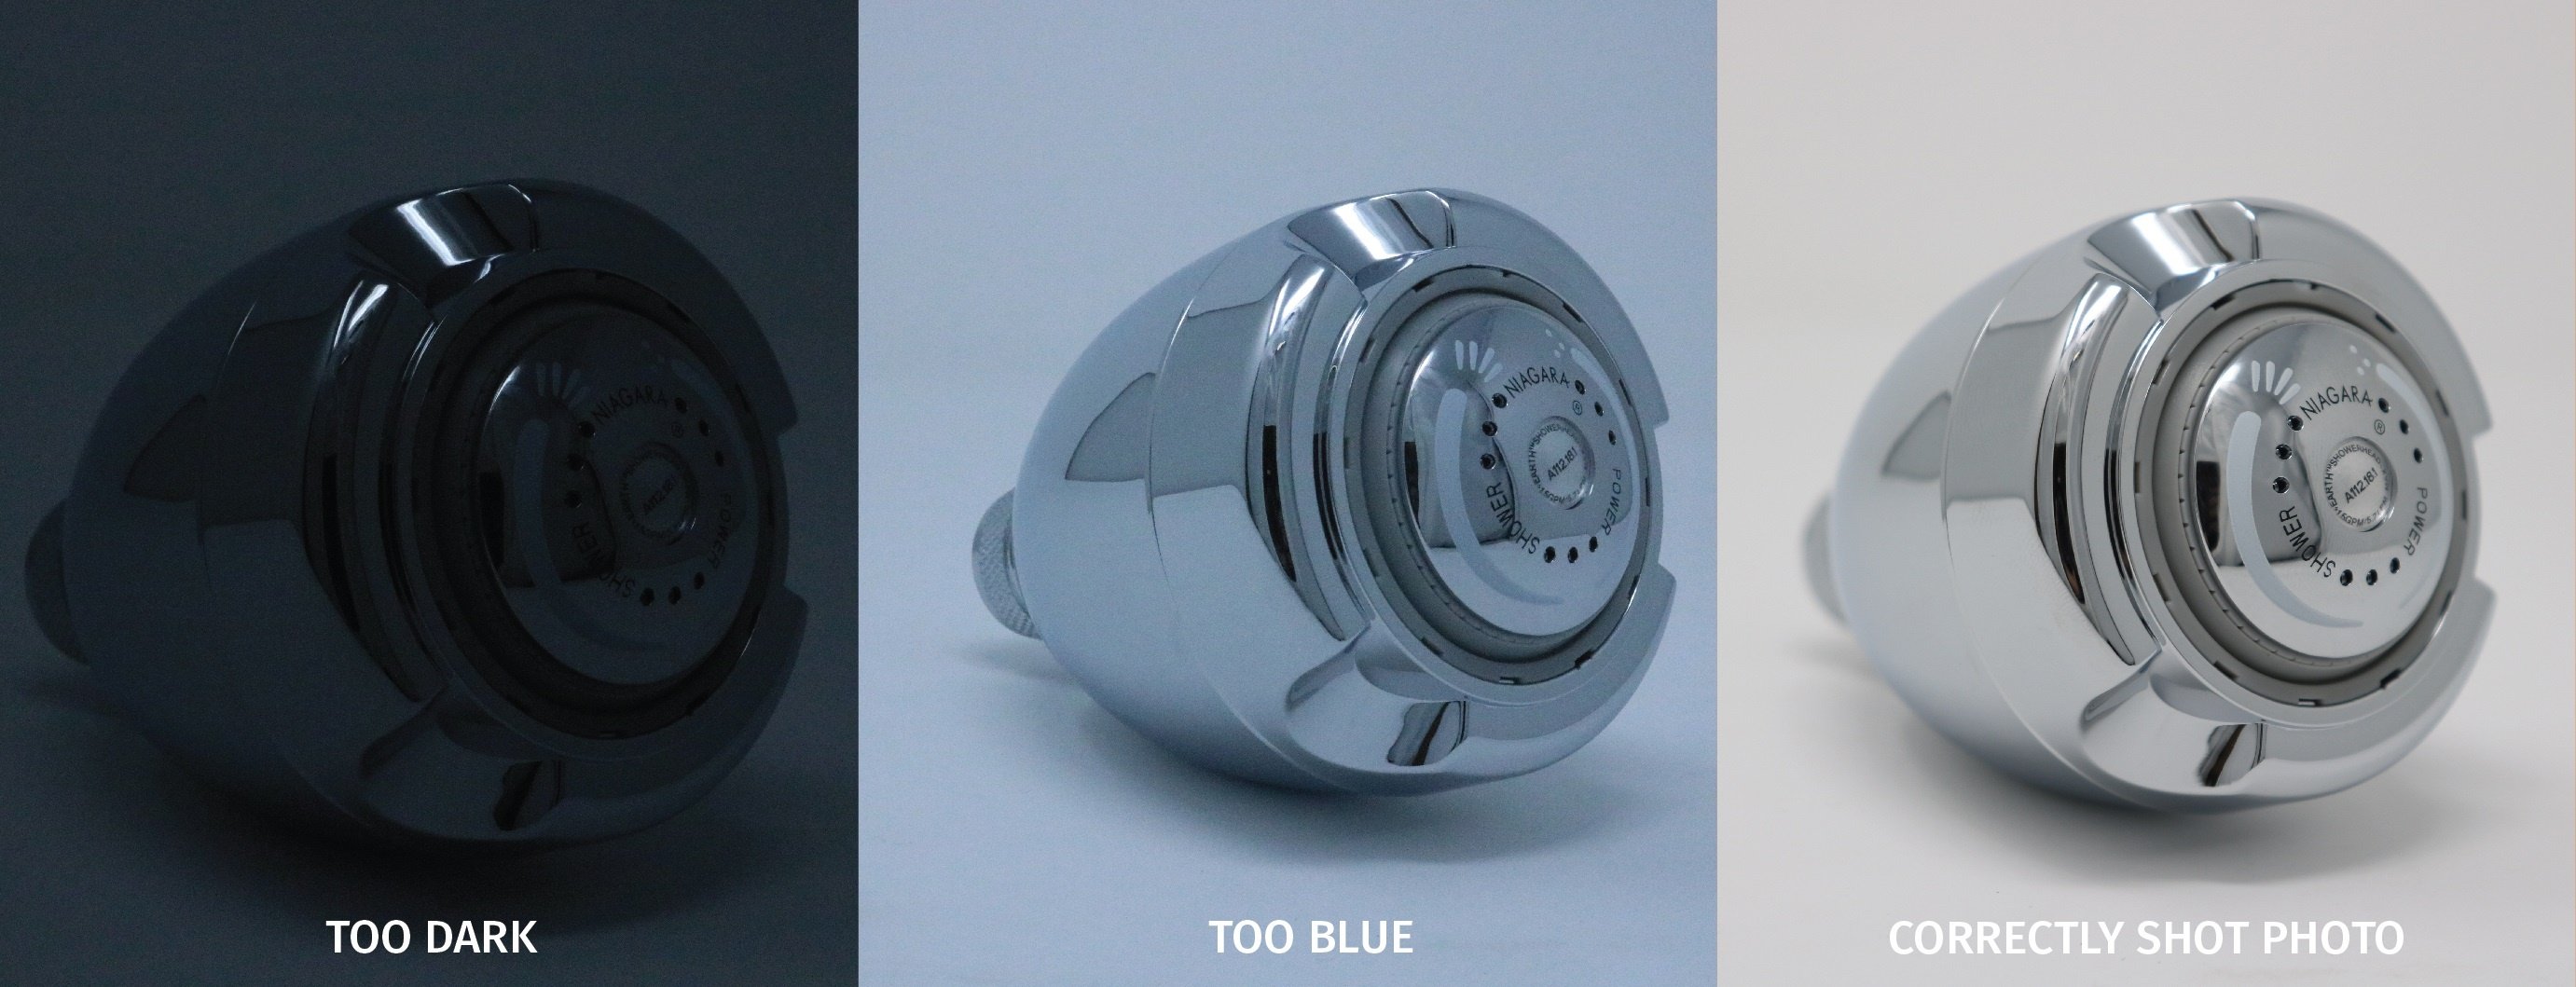
Get the lighting right. Using a window for natural light is the easiest and cheapest option. But you’ll need to check for shadows or glare on your product. If the sunlight from the window is too strong, you can block some of it by taping craft paper to part of the window. If the shadows are too harsh, you can reflect and soften light by creating “walls” of white posterboard or cardboard on each side of the product.
Edit like a professional. You can crop and straighten photos on your smartphone, but for more sophisticated editing like light adjustment or color correction, you’ll need software. Photoshop is the granddaddy of photo editing tools, but it can be costly and takes time to learn. Other options include free online image-editing tools like Pixlr and Canva, or apps like Fotor and Snapseed (available for free in IOS and Android app stores).
Don’t forget to optimize. Saving your photos in the correct size will limit graininess and ensure your store’s pages load quickly. For more information on optimization techniques, see blog on that.
Develop a guide. Spreading the photography around to other team members can reduce hassle and save time. If you create a guide of how the photos are shot and edited, you’ll make product photography even easier and more efficient. The guide should include items like the best location in your building for product photography, type of camera used, distance between the camera and the product, standard product angles and views to capture, lighting solutions you developed, and a technical guide and template in your editing software.
For the cost of some craft paper and a tripod, plus some staff time, you can create professional-looking photos that will not only drive consumers to your online store, but also encourage them to load up their shopping carts. The marketing team at AM Conservation Group is committed to helping you develop and market an online store or marketplace program within your budget. Professional product photography is a standard offering within even our base online store.